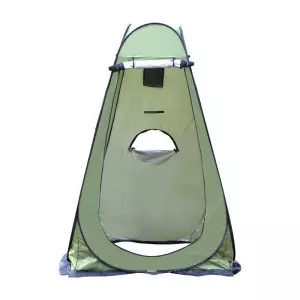
Introduction: Setting up a shower tent for your outdoor adventures may seem like a daunting task, but with the right guidance, it can be a straightforward process. Proper setup ensures privacy and convenience during your outdoor showers, making your camping or hiking experience more enjoyable. In this step-by-step guide, we’ll walk you through the process of setting up your shower tent for a seamless and refreshing outdoor shower experience.
- Choose the Location: Select a flat and level area away from strong winds, with easy access to a water source and proper drainage.
- Unpack and Organize: Carefully unpack the shower tent and lay out all components, including poles, rainfly, and accessories.
- Assemble the Frame: Follow the manufacturer’s instructions to assemble the tent frame, connecting poles and securing them in place.
- Attach the Rainfly: If your shower tent comes with a rainfly, securely attach it to the frame to provide additional privacy and protection from the elements.
- Attach the Flooring (if applicable): Set up the tent flooring to create a clean and comfortable area for showering. Ensure it’s properly secured to prevent slipping.
- Secure the Tent: Stake down the corners of the tent and guylines, adjusting tension for stability and wind resistance.
- Set Up Shower System: Install your chosen shower system, whether it’s a portable showerhead, solar shower bag, or other water source.
- Test and Adjust: Turn on the shower system to ensure proper water flow and pressure. Adjust the positioning of the showerhead for optimal coverage.
- Ventilation and Privacy: Open windows or vents to ensure adequate ventilation while maintaining privacy.
Conclusion: Setting up a shower tent for outdoor showers is a manageable task that enhances your camping or hiking experience. By following these step-by-step instructions, you can enjoy a refreshing shower in the great outdoors while maintaining privacy and comfort.


