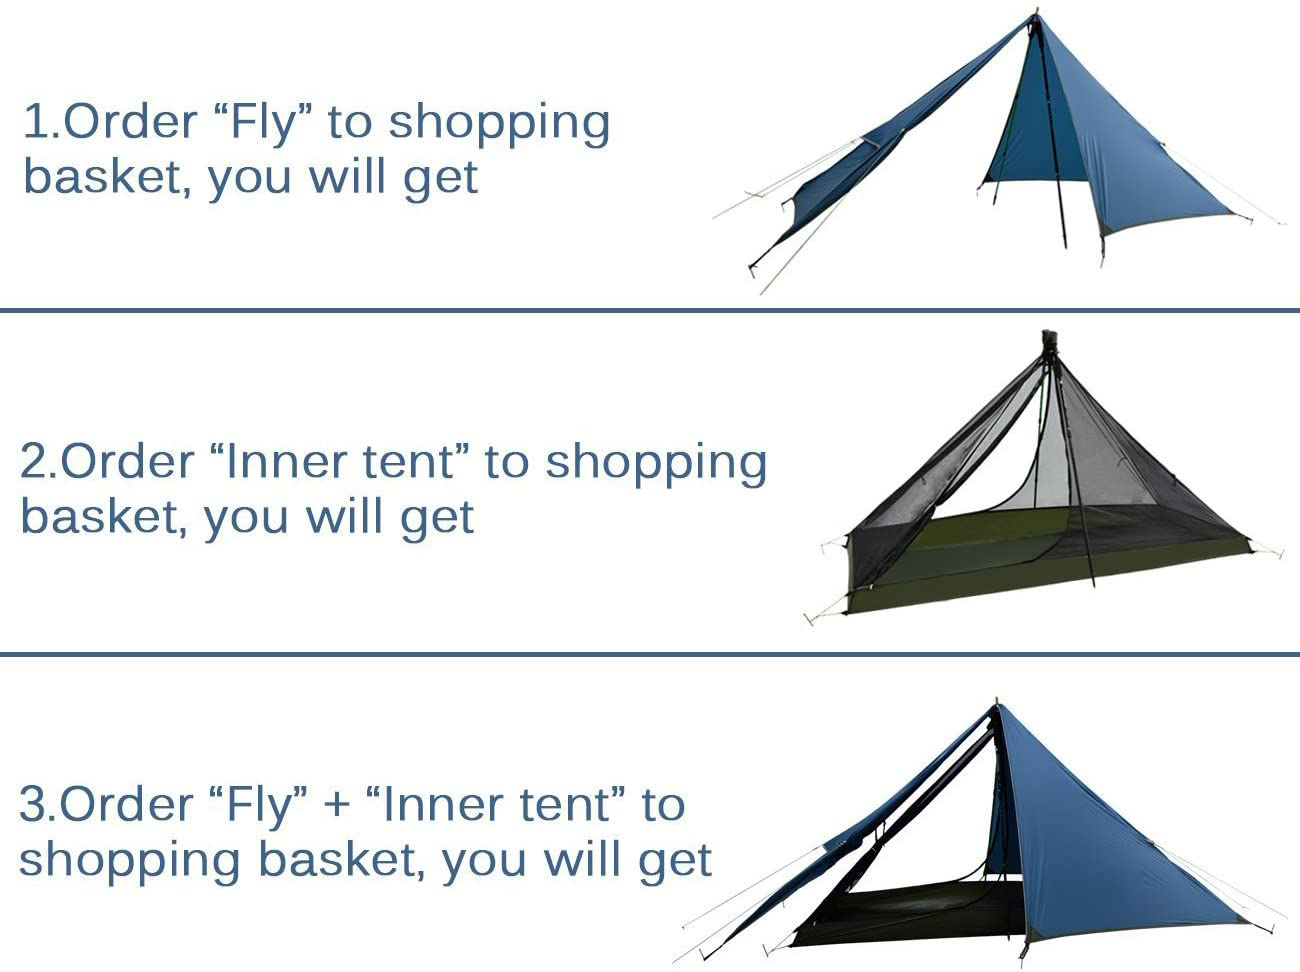
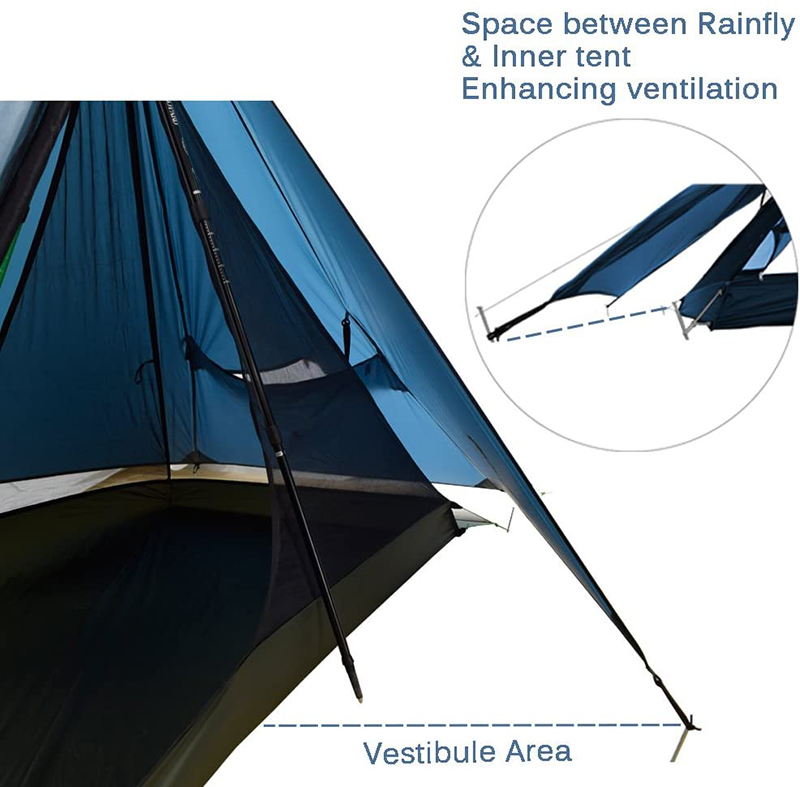
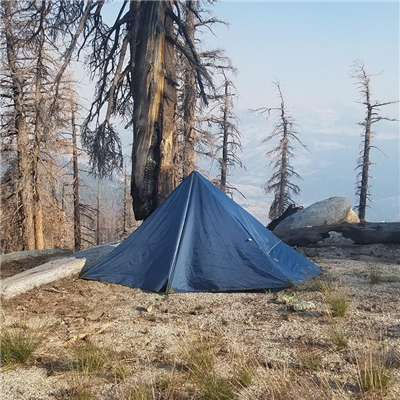
A tent is a shed that is propped on the ground to shelter from wind, rain and sunlight and for temporary living. It is mostly made of canvas, together with supporting things, which can be removed and transferred at any time. The tent is carried in the form of parts and assembled after arriving at the site. Therefore, various parts and tools are required. Understand the names and usage of each component, and be familiar with the structure of the tent, so that the tent can be erected quickly and easily.
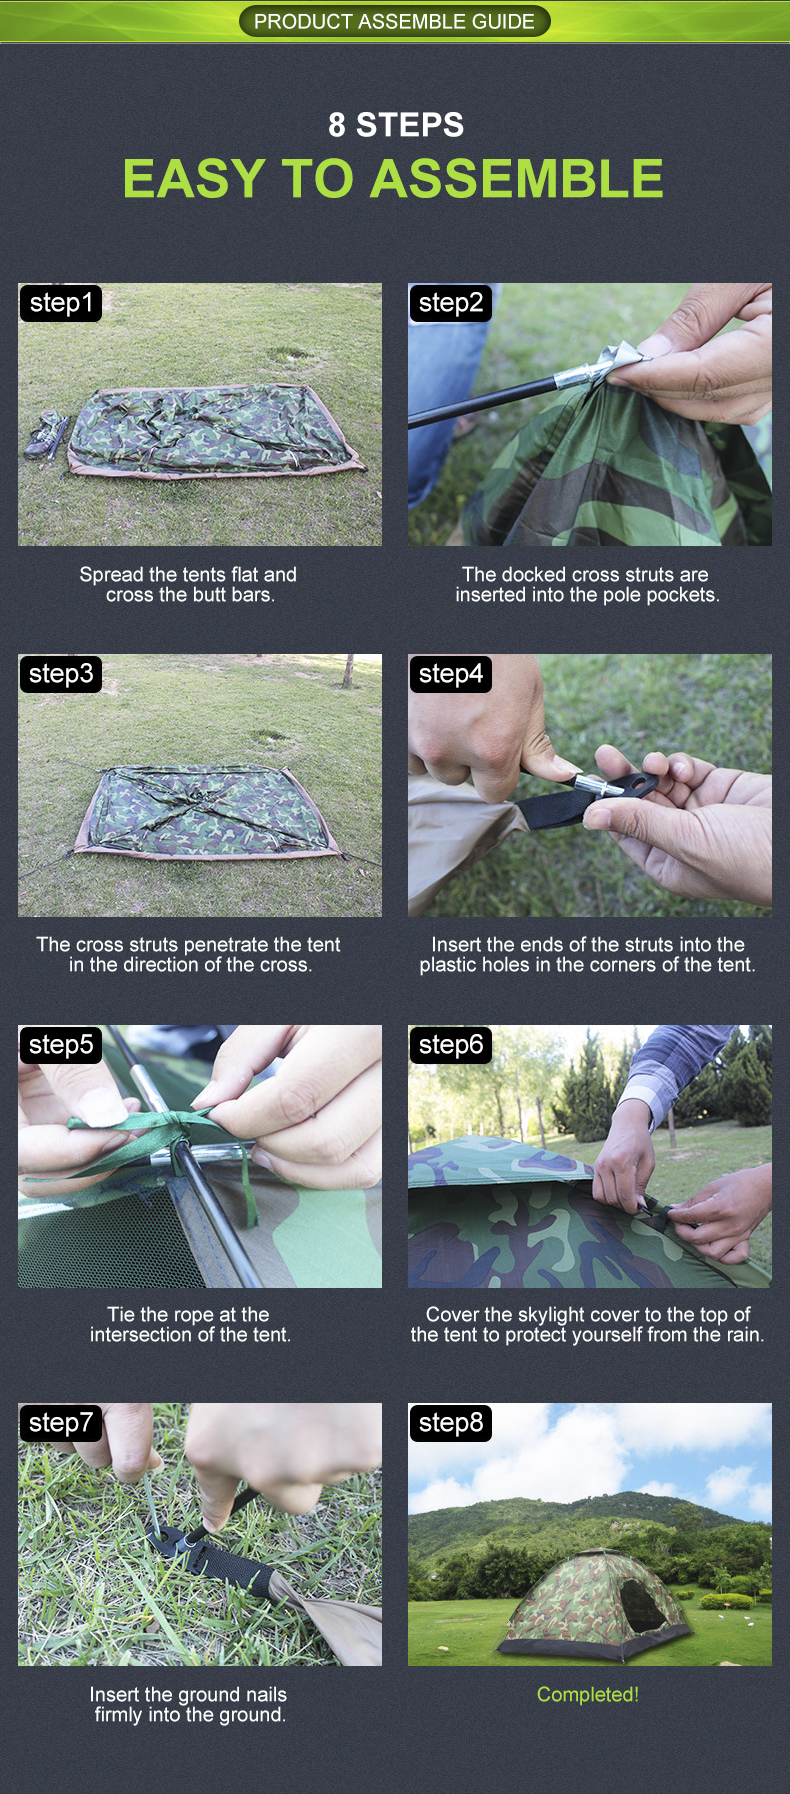
1. First take out the tent from the outer bag. Note that there are 2 black bags inside, the big one is the tent pole, the small one is the ground nails and the wind rope, and then the tent is laid flat on the ground, and the nail bag is wrapped with the tent. Put aside accessories such as, pole bag and so on.
2. Take out the fiberglass rod from the rod bag, butt it together, and turn it into a whole long rod.
3. Put the butt-connected fiber poles into the pipes of the tent. Some double-layer tents are internally hung, and the hooks are hung on the fiber poles. Several poles should be worn at the same time.
4. Insert one end of the fiber pole into the tent ring at the bottom corner of the tent, and then to the other end (diagonally), hold the pole in one hand and the bottom corner of the tent in the other hand, and slowly arch the pole up. After propping up, insert the rod into the shed at the bottom corner.
5. The last step is to hit the floor nails and pull the camp rope. It is best to use force and the angle should be correct. The tent that is propped up like that is strong and beautiful, and it is comfortable to live in.


